Most of the time, we often use our browsers to search for something over the internet or to connect with our friends and family via social media accounts. However, most of the browsers that we have do not really contain too much important data which includes your cookies, histories, and more. Though the bookmarks that you have are different. That is why in this article, we are going to show you how you can export bookmarks from Chrome on Mac.
Contents: Part 1. A Brief Introduction on BookmarksPart 2. Ways on How to Use Bookmarks on Google ChromePart 3. How to Import or Export Bookmarks from Google Chrome Browser on MacPart 4. How to Clean Up Your Google Chrome on MacPart 5. Conclusion
Part 1. A Brief Introduction on Bookmarks
Bookmarks are considered to be and also called your favorites or your internet shortcuts. Once that you have a certain website being bookmarked on your browser, then you will be able to access it without having to type in the website. All you need to do is to click on your bookmark and it will then automatically take you to that website. That is why most browsers have the ability to let you export your bookmarks to an HTML file.
At times, you can actually do this natively. But some would need to you to have an add-on extension or even to have a third party program to do so. Most of your browsers as well will also let you import the HTML files that you have. This way, you will be able to use it for you to be able to move your bookmarks to some other browsers that you have.

Part 2. Ways on How to Use Bookmarks on Google Chrome
Here, before show you how to export bookmarks from Chrome on Mac, we are going to show you how to use your bookmarks on your Google Chrome.
Method #1: Adding Bookmarks on Google Chrome
- Go ahead and launch the website that you would want to bookmark.
- And then, look for the star icon beside the URL box or the address bar of the Google Chrome browser.
- Then go ahead and click on the star. And then you will be able to see a pop-up window that will appear on your screen.
- From there, go ahead and choose a name for the bookmark. If you are going to leave it blank, then it will only show you the icon of that website you are trying to bookmark.
- Then go ahead and select the folder that you would want to keep in it. Once that you have added this to your Bookmarks bar will automatically add it to the grey bar which can be viewed at the New tab page.
- After that, go ahead and click on the “Done” button once that you are completely done.

Method #2: Editing Your Bookmark on Google Chrome
- Go ahead and click on the bookmark that you would want to edit on your Google Chrome browser.
- And then, go ahead and click on the golden star located at the upper right corner of your screen. This is beside the URL box or the address bar.
- From there, go ahead and change it to anything that you would want. If you want to do advanced editing, all you have to do is to click on “Edit”.
- Then, go ahead and click on the “Done” button once that you are done editing your bookmark.
Method #3: Removing your Bookmark on Google Chrome
- Go ahead and click on your bookmark that you would want to remove from your Google Chrome browser.
- After that, go ahead and then click on the star icon located in the upper right corner of your screen beside the address bar or the URL bar.
- And then finally, go ahead and click on the “Remove” button. This way, you will be able to remove your bookmark from your Google Chrome.
Part 3. How to Import or Export Bookmarks from Google Chrome Browser on Mac
How can i export bookmarks from Chrome to another computer? Here, we are going to show you on how you can import or export your bookmarks from whatever browser that you have on your Mac – especially on your Google Chrome.
For you to be able to import or export your bookmarks on your Google Chrome, all you have to do is to follow the steps the steps below.
Step 1: Go ahead and launch your Google Chrome on your Mac.
Step 2: Click on the Chrome menu icon located at the upper right corner of your browser screen.
Step 3: Then, go ahead and simply click on “Bookmarks” and then click on “Bookmark Manager”. Another way for you to do this is to simply press on Control + Shift + O.

Step 4: Then, the bookmark manager will launch a new tab on your browser. From there, all you have to do is to click on “Organize”.
Step 5: And then go ahead and click on the “Export bookmarks to HTML file”.

Step 6: Then on the “Save As” dialog box, Google Chrome will then automatically give you an HTML file a certain name which contains the current data.
Step 7: And then go ahead and navigate to the location wherein you would want to save the file. You can also change the file name if you want to.

Step 8: If you are going to import an HTML bookmark file, go ahead and choose the HMTL file from the to save as dialog box. So, the bookmarks that you are going to import from the HTML file will be directly put in the folder name “Imported”. Then after that, go ahead and close on the Bookmark Manager by clicking on the close (X) button.
Part 4. How to Clean Up Your Google Chrome on Mac
Now, since that, we have mentioned earlier that the data that you have on your browser is really not that important such as your cache, cookies, and history. Then it is time that you get rid of them. This is because for the longest time you have them in your browser, then time will come that you might have trouble using your browser as well.
Now for you to do this, you will be needing a powerful tool that can help you. This way, you would not have to go through your stuff one by one. That would take forever! Well, do not worry because we have the perfect and powerful that you can use. And this is the iMyMac PowerMyMac.
Its Privacy function is considered to be an award-winning browser cleaner there is today. This is one of the most excellent tools that you can use to improve your experience in using up your browser. This is because it has the ability to clean up all the junks that you have on your browser.
It can help you in cleaning up your junk such as your cookies and your history. It can also help you to remove any deceleration reasons and clear all your privacy traces. This way, you will be able to protect all the confidential files that you have on your Mac.

And the best thing about the iMyMac PowerMyMac is that it is very safe, easy, and fast to use. So, if you are ready to start cleaning up your Google Chrome on your Mac, then simply go ahead and follow the guide below.
Step 1: Download and Install PowerMyMac for Free
Go ahead and have the iMyMac PowerMyMac be downloaded from our official website. Once that you have downloaded the program, go ahead and have it installed on your Mac.
Step 2: Launch the iMyMac PowerMyMac
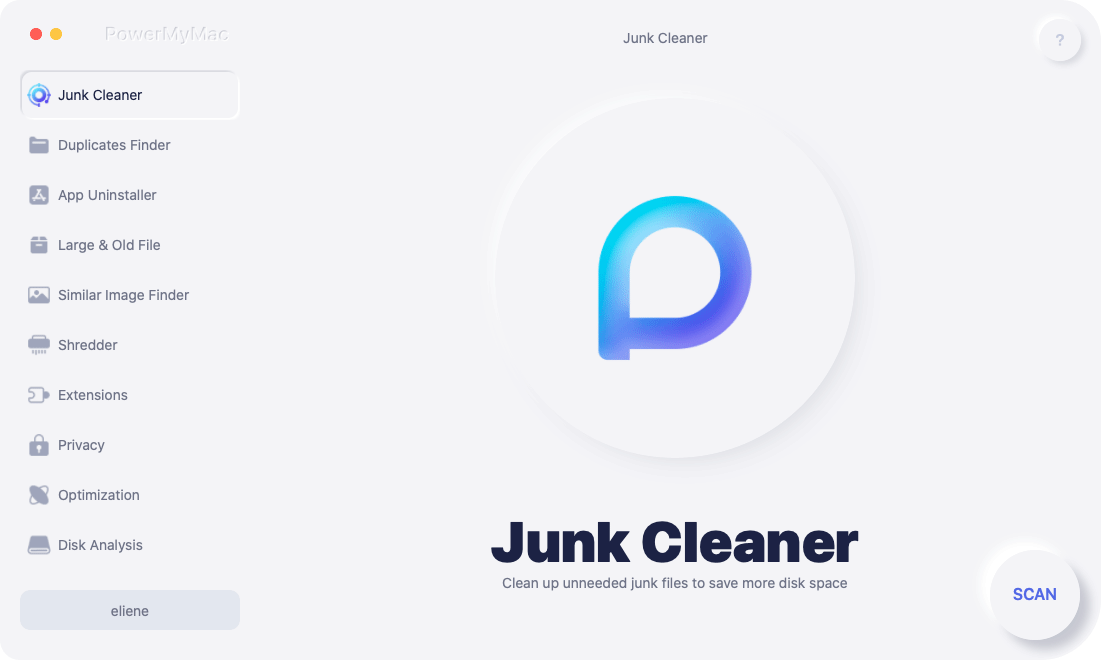
Once that the iMyMac PowerMyMac is fully installed in your Mac, go ahead and launch the program. Now, on the main interface of the iMyMac PowerMyMac, you will be able to check out your Mac’s system status such as its memory, CPU and your hard disk.
Step 3: Select the Privacy Module
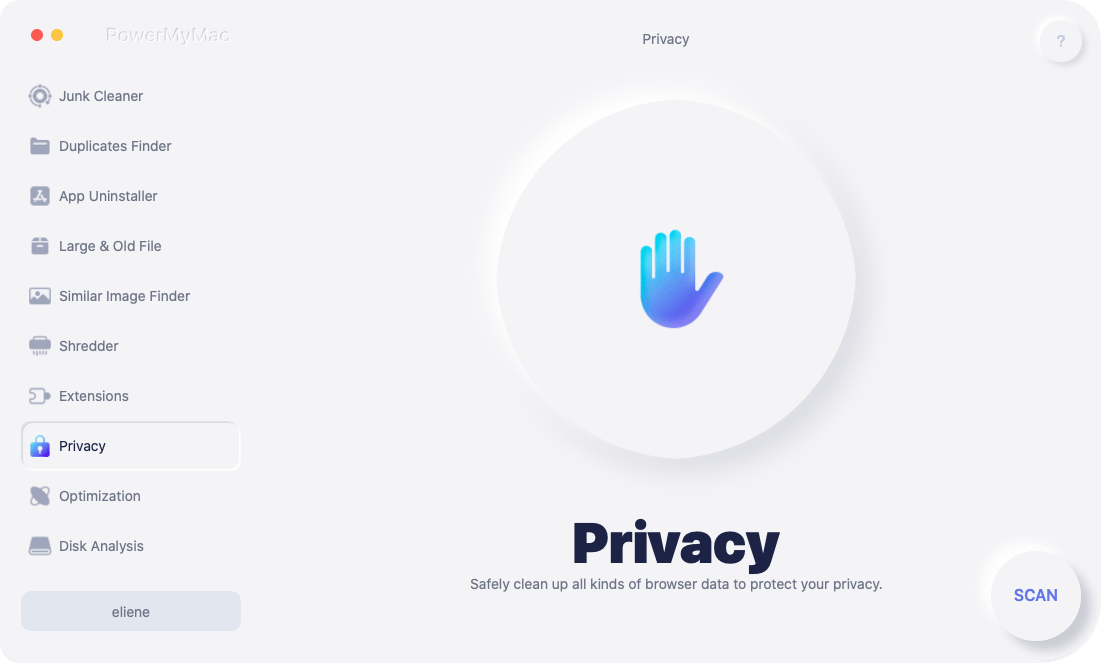
And then, on the left side of your screen, you will be able to see a list of modules that PowerMyMac can do. From that list, go ahead and choose “Privacy”.

Step 4: Start the Scanning Process
Then simply click on the “Scan” button. It will then start to scan all the junks that you have on each browser that you have on your Mac. This may take some so just wait patiently.
Step 5: Choose the Browser You Want to Clean
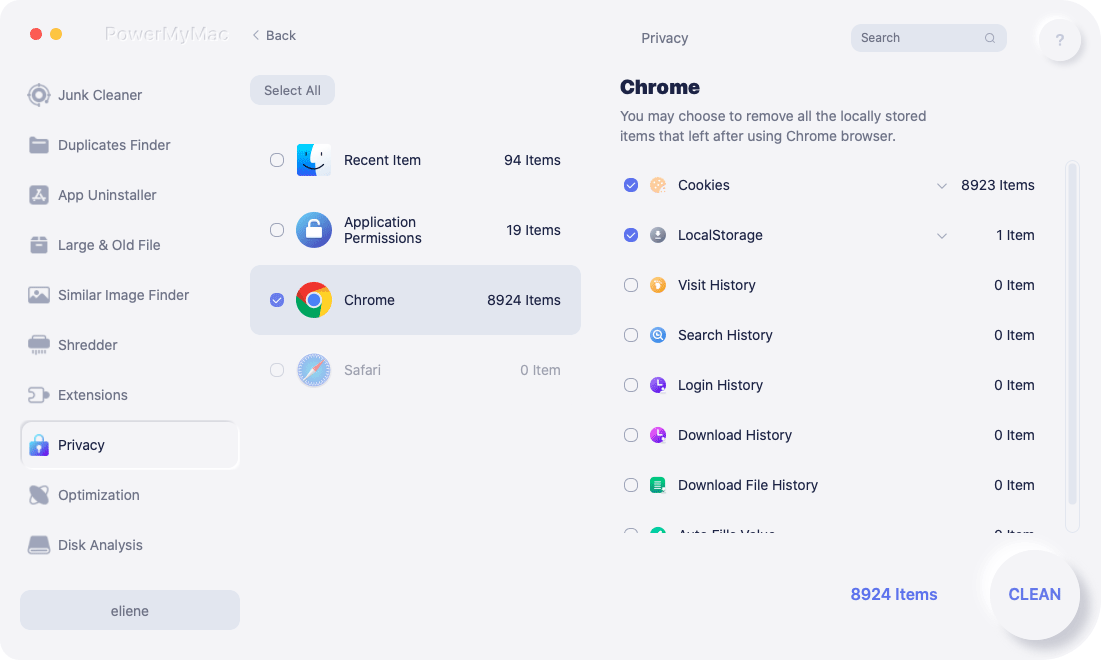
Once that the scanning process is done, the Privacy will then start to show you all the browsers that you have installed on your Mac. From here, go ahead and click on Google Chrome.
NOTE: You can also choose a different web browser that you would want to get cleaned.
Step 6: Choose the Data To Clean from your Browser
Then once that you click on Google Chrome browser from the list, the Privacy will then show you a list of folders that you have on your Google Chrome. This includes your Visit History, Download History, Download Files, Search History, Cookies and a lot more. From that list, go ahead and click on the files that you would want to remove from your Google Chrome browser.

Step 7: Cleanup Browser Complete
Once that you have already chosen all the files that you would want to remove from your Mac, go ahead and click on the “Clean” button.
Then the cleaning process will now start. This process may take some time depending on how large the files that you have. From here, all you have to do is to be patient and wait until the cleaning process is complete. And once that the cleaning process is done, Privacy will then notify you.
NOTE: You can also do the same process if you would want to clean up the other browsers that you have on your Mac. Or if you would want to remove some more junks from your Google Chrome browser on your Mac. So that is it! That is how easy and fast to use the PowerMyMac's Privacy. Nothing complicated right?
People Also Read:How to Change Default the Browser on Mac?How-To Guide: Deleting Your Browser History On Your Mac Device
Part 5. Conclusion
Exporting bookmarks from the Google Chrome browser on Mac is really a very easy thing to do. All you have to do is to follow all the steps that we have provided for you. Also, it is one great idea for you to have your Google Chrome browser cleaned up from time to time. This way, you will be able to have a better experience of surfing the internet and doing all the things that you like.
And for you to do this, only PowerMyMac's Privacy is the perfect tool that you can use. Using this tool is no doubt the easiest and the fastest way for you to be able to remove all the junks that you have on your Google Chrome browser. This is because the PowerMyMac has the ability to remove all the unwanted data that you have on your browser.
Another great thing about PowerMyMac is that it does not only work for your Google Chrome browser but it can also work for any other browser that you have. This includes your Safari browser, Mozilla Firefox, and some other browsers that you have on your Mac.


