Apple has many features you can use and if you haven’t try to use AirDrop, well you’re missing a good feature of the tech giant. Here, we will teach you how to turn on AirDrop on Mac.
AirDrop is used to send (or receive) documents, videos, and photos between Macs. Or it can be used to receive and send either between an iPhone or iPad and Mac. Plus, it is an excellent method for efficiently transferring or sending a big file from one device of Apple to that of another.
Both receiving and sending devices should have Bluetooth and it must be turned on since AirDrop works over Bluetooth. However, AirDrop may only be used over short distances. Here's everything you must learn on how to turn on AirDrop on Mac and start utilizing it.

Contents: Part 1. How to Turn on AirDrop on Mac Using FinderPart 2. How to Share Your Files with Mac’s AirDropPart 3. How to AirDrop An Excel, Word, Or Powerpoint FilePart 4. How to Instantly Receive Files Using AirDrop on Your Own Mac
Part 1. How to Turn on AirDrop on Mac Using Finder
Why is Airdrop not working on my Mac? You should first check if the bluetooth is turned on. Utilizing AirDrop in Finder windows offers great help in quickly sharing multiple files and adjusting AirDrop’s feature for discovery.
- Locate the menu bar found at the upper part of its screen, Open Finder, and choose Go > AirDrop. This is the start of how to turn on AirDrop on Mac.
- At the lower part of the interface, click the option to allow yourself to be discovered by any device. You can choose Everyone or Contact Only. Afterward, an AirDrop finder window will open. There are a two latter options in order to share files, so select the appropriate option.
- Wait for the various nearby devices. They will appear for a few moments.
- To share files instantly at the AirDrop window, drag the files you wish to send and share. To easily use AirDrop at any time, you can keep your AirDrop in your Favorites within Finder.

Part 2. How to Share Your Files with Mac’s AirDrop
AirDrop a file, video, or photo from your own Mac in just a few clicks. Learn how to turn on Airdrop on Mac and share your files below.
- At the top of the window for your file, find the icon for sharing. It looks like a UP arrow within a box. Click this icon.
- Sharing menu will drop down. After that, choose AirDrop. One of your default sharing choices should be AirDrop.
- A brand new window appears, displaying nearby devices with which you can share. Sometimes, AirDrop takes a while to find nearby devices. Also, if your airdrop on iPhone or Mac is not working, make sure that the Bluetooth is activated. If ever the receiving device still doesn’t show up.
- Afterward, click the specific device you wish to send a file to.

Part 3. How to AirDrop An Excel, Word, Or Powerpoint File
Now that you have known how to turn on Airdrop on Mac, read below to learn how to airdrop Excel, Word, or PowerPoint on Mac:
- On the upper right corner of the window in Powerpoint, Excel, or Word. Press the button for “Share”.
- Multiple sharing options will be seen. Thereon, click the option to “Send a Copy”.
- Click the icon for sharing and from the menu choose AirDrop. Click Share Icon > AirDrop.
- To share specific files with that of nearby devices a new window will pop up.
- Click the specific device to which you wish to AirDrop your file, and it will be instantly sent.

Part 4. How to Instantly Receive Files Using AirDrop on Your Own Mac
How do I move videos from iPhone to Mac? It is possible to AirDrop different types of files located on your iPad (or iPhone) to that of your Mac with ease. When someone shares or sends a specific file, you are notified if you’ll accept it. Latterly, it will then appear within the Downloads folder.
This article has given you a variety of instructions on how to turn on AirDrop on Mac. Along with how to share a file within a file as well as how to receive files via AirDrop. We hope that we have helped you how to use one of the best features only Apple can do.

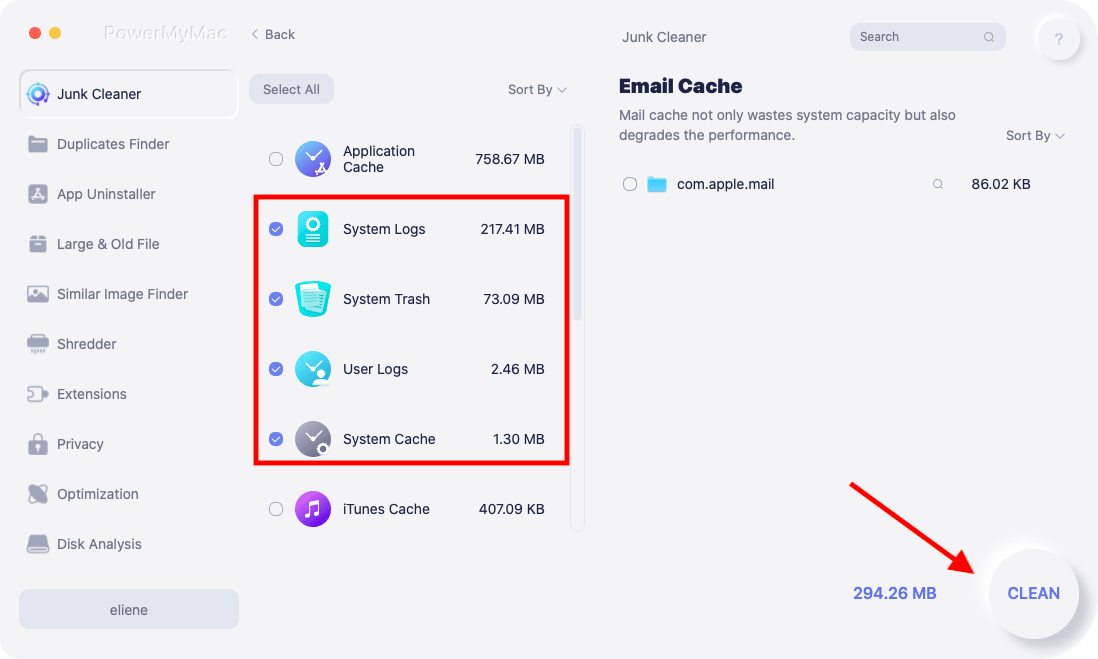
Also, if you are having trouble cleaning your Mac, we recommend you to use iMyMac PowerMyMac to smartly clean up your Mac with different types of junk files in just a few clicks. It is the best cleaning tool for Mac. Try the free trial now!


