Given the widespread use of online work, some documents must still be printed. There's a great deal of discussion about businesses going paperless, but it's hard to find a large corporation that doesn't require a few documents printed every now and then. Online workers may be required to sign a contract at home, and school-aged children may be required to print a report. Connecting to the correct printer can also be a little tricky at times, which can be the same issue when you remove printers from Mac as well.
For a variety of reasons, deleting an installed printer from your MacBook may be necessary. Suppose you connect your Mac to a printer, either through a USB cable or an internet network. In that case, it appears as a configured printer in Mac OS X System Preferences until you manually delete it. The printer's setting persists even if you are no longer connected to it. However, if you no longer want to use the printer anymore, you can remove it from the MacBook's setup.
Article GuidePart 1. Remove Printers from MacPart 2. How to Manually Remove PrintersPart 3. How to Automatically Remove PrintersPart 4. Conclusion
Part 1. Remove Printers from Mac
If ever you are planning to replace your old printer or printers with a new model, this is the right article for you. This would also necessitate for you to remove printers, which can be really perplexing at times. It is because uninstalling a printer from a Mac differs from uninstalling regular apps that you usually remove when you don't want it anymore. This guide explains how to uninstall printer drivers with a step-by-step tutorial. Make sure to continue reading below to know how to remove printers from Mac completely.

Part 2. How to Manually Remove Printers
As we all know, all apps installed on Mac are in a package which means that it has associated files in several folders and takes space in your hard disk. With this, it is crucial to delete the associated files when you try to uninstall an unwanted app. If not, it can cause a problem or issue on your device, and it can further take up the storage on your Mac.
Even when it is pretty different when you remove printers from Mac, it still has its service files that need to be removed. For you to be guided with the process, continue to read down below for the instructions:
- From the Apple menu, choose System Preferences.
- Select Printers & Scanners from the menu.
- Choose the machine that is appropriate for you. To uninstall, click the Minus "-" button.
- Click Delete Printer to confirm your decision.

Bear in mind that you'll also need to uninstall the printer manufacturer's driver software. Please follow the instructions below to remove printer drivers completely:
- Open the Finder and go to Applications.
- Your associated files may be labeled differently depending on the printer manufacturer. You'll have to put them in the Trash.
- After that, you'll need to erase any cache and service-related files associated with your printer manufacturer. Those files are usually located in the following folders:
~/Library/Cache~/Library/Preferences~/Library/Logs~/Library/Application Support~/Library/Containers~/Library/Printers
The last thing to do is clear your Trash to make sure that the printer and its files are completely deleted on your Mac.
Part 3. How to Automatically Remove Printers
As the manual method of uninstalling is discussed in the previous part, in this segment, an automatic and professional tool will be introduced to use when you remove printers from Mac. Many users have said that when you manually uninstall an app or any software, it takes a long time, and it is difficult as well, especially for users who have don't enough experience in doing the process.
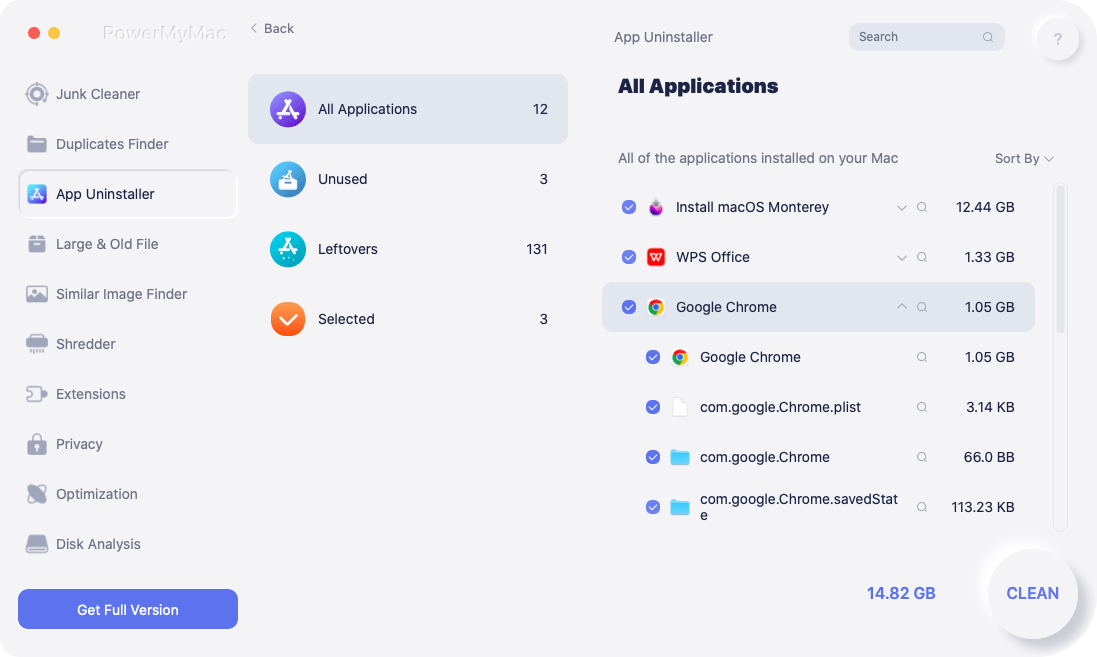
Suppose you would like to save your time and energy from finding every single file related to the selected printer. In that case, you may use the PowerMyMac, which has an Uninstaller tool that you can use in uninstalling software or printers into your Mac. This is very helpful to every user, even those experienced ones since it completely removes any software, including its remnants, to make sure it cannot have any problem in the future.
To find out how effective PowerMyMac's Uninstaller is, here is the guide to remove printers from Mac step-by-step:
- Download and install the app, head to PowerMac, and launch it on your Mac.
- Select the Uninstaller feature and click Scan. After the scanning is finished, you can Re-scan if there seems to be a problem.
- If Mac recognizes the products on your printer as mandatory system files, you will need to temporarily enable the Display System Applications function during the removal process. Please remember to turn this option off after you've finished uninstalling to avoid accidentally deleting vital system files and apps.
- Choose all of the applications and related files that are relevant to the printer maker. You can also search and type the name in the search bar.
- After you have double-checked the selected items, click the Clean button to finish the process and wait for it to be completed.

Once it is complete, a pop-up will appear "Cleanup Completed”, which is an indication that the printers have been fully removed from Mac.
Part 4. Conclusion
Even when we assume that printers have been deleted into the Trash, there is a big possibility that other remnant files can still be in your disk that you have failed to locate. For you to remove printers from Mac altogether, you may manually identify those files and delete them or automatically remove them using the PowerMyMac's Uninstaller. Since it is pretty complex than uninstalling a regular app, it will require you to read the guide thoroughly to make sure you do not miss a step and cause a problem for your device. Whether it is a manual method you're using or through PowerMyMac, make sure that it is deleted to avoid having issues in the future.


