iExplorer is a popular app that allows Mac users to manage and transfer files between their devices and their computers. However, if you've decided that you no longer need iExplorer, you may be wondering how to uninstall it from your Mac. Fortunately, the process to uninstall iExplorer Mac computers is a straightforward method that can be completed in just a few simple steps.
In this article, we'll walk you through the process of uninstalling iExplorer from your Mac so that you can free up space and remove any unwanted apps from your computer.
Contents: Part 1. What Are the Uses of iExplorer?Part 2. Manual Steps to Uninstall iExplorer from MacPart 3. Automatically Uninstall iExplorer on Mac with a Reliable UninstallerPart 4. Conclusion
Part 1. What Are the Uses of iExplorer?
iExplorer is a software application that allows users to manage and transfer files between their iOS devices and their Mac computers. This application is commonly used by individuals who want to back up or transfer files from their iPhone, iPad, or iPod to their Mac.
Despite its usefulness, there may be reasons why someone would want to uninstall iExplorer on Mac. One reason may be to free up space on their computers or to remove unused applications. Additionally, if the user no longer owns an iOS device, they may no longer require iExplorer.

When it comes to removing iExplorer, the most common problem users may face is uninstalling the app completely. Some residual files or settings may remain on the computer even after the app has been removed, leading to potential issues in the future. However, following the correct steps and utilizing the appropriate tools can ensure that the app is removed completely from the computer.
Part 2. Manual Steps to Uninstall iExplorer on Mac
If you've decided that it's time to remove iExplorer from your Mac, there are a few manual steps you can take to do so. Here's how to uninstall iExplorer from your Mac using the manual method:
Step 1. Quit iExplorer and Any Related Processes.
Before you can uninstall iExplorer on Mac, you need to ensure that the app and any related processes are not running. To do this, open Activity Monitor and search for any iExplorer-related processes. Quit these processes before proceeding to the next step.

Step 2. Move iExplorer to the Trash.
Next, locate the iExplorer app in your Applications folder and drag it to the Trash. This can be done by clicking and holding on the app icon until it starts to shake, and then dragging it to the Trash icon in your dock. Alternatively, you can select the app and use the "Move to Trash" option under the File menu. Then you successfully uninstall iExplorer on Mac.

Step 3. Delete iExplorer Preferences and Cache Files.
After moving iExplorer to the Trash, you should also delete any associated preference and cache files. To do this, open Finder and click on the "Go" menu. Hold down the "Option" key to reveal the Library option, and click on it. From there, navigate to the "Preferences" and "Caches" folders, and look for any iExplorer-related files. Delete these files by dragging them to the Trash.

Step 4. Empty the Trash.
As the last step, you should empty the Trash to ensure that you completely uninstall iExplorer on Mac. This can be implemented by right-clicking within the Mac’s Trash icon in your dock and selecting "Empty Trash".

By following these steps, you should be able to successfully uninstall iExplorer on Mac manually. However, if you encounter any issues or leftover files, you may want to consider using a third-party uninstaller tool to ensure that the app is completely removed from your computer.
Part 3. Automatically Uninstall iExplorer on Mac with a Reliable Uninstaller
If you're looking for a more reliable and efficient way to uninstall iExplorer from your Mac, you may want to consider using a third-party uninstaller tool. One such tool is iMyMac PowerMyMac, which offers an App Uninstaller feature that can help you remove iExplorer and any related files or settings.
To use PowerMyMac to uninstall iExplorer on Mac, follow these steps:
Step 1. Download and Install.
Go to the official PowerMyMac website and download the app. Install the app on your Mac and launch it.
Step 2. Select App Uninstaller.
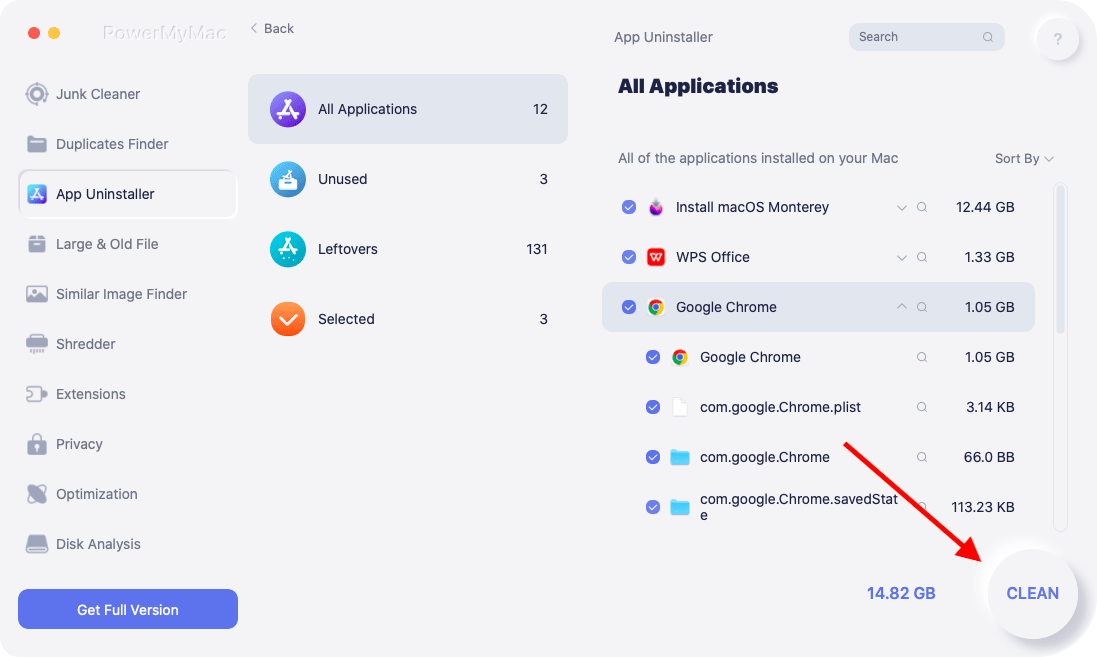
From the main interface of PowerMyMac, select the "App Uninstaller" feature. This will bring up a list of all the apps installed on your Mac.

Step 3. Scan.
Click on the "SCAN" button to start locating the apps on your computer. Once the analysis is complete, PowerMyMac will display a list of all the apps on your computer. To uninstall iExplorer on Mac, find and select it.

Step 4. Confirm and Uninstall iExplorer.
Review the apps and select iExplorer and its list of files. Select the ones you want to remove. Click on the "CLEAN" button to start the uninstallation process.

By using PowerMyMac to uninstall iExplorer on Mac, you can ensure that all related files and settings are removed from your Mac and that there are no leftover traces of the app.
Part 4. Conclusion
In conclusion, iExplorer is a useful application for managing and transferring files between iOS devices and Mac computers. However, if you've decided that it's time to uninstall iExplorer on Mac, there are manual steps you can take to do so.
Alternatively, you can use a third-party uninstaller tool like PowerMyMac to ensure that all related files and settings are removed from your computer.
PowerMyMac's App Uninstaller feature is an effective way to remove iExplorer and other apps from your Mac completely. By using this tool, you can save time and ensure that there are no leftover traces of the app, which can help optimize your Mac's performance. You can try removing Chrome Canary with it, and you'll find that it's effortless to completely uninstall an app.
Overall, PowerMyMac is a valuable tool for maintaining and optimizing your Mac's performance. Along with its App Uninstaller feature, it offers various other features such as Junk File Cleaner, Duplicate Finder, and more. Therefore, we highly recommend this tool to all Mac users who want to keep their computers running smoothly.


