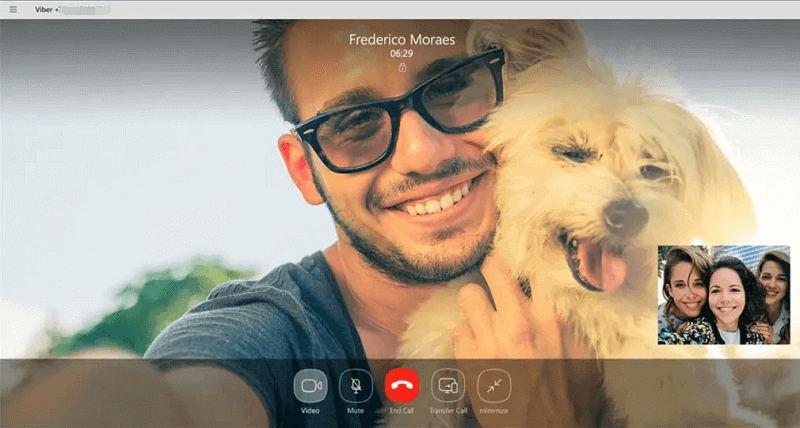
With technology evolving, a number of apps have been created to fulfill the needs of the consumers. One important area of apps that have been formed is those of instant messaging and communication. They are ways to communicate and call your loved ones through the Internet. One such important app is Viber for Mac. It’s a great application that has been created for instant messaging. It also has features for audio calling and video calling. It’s a great way to connect with your friends, family members, classmates, and even co-workers.
Here, we will give a comprehensive guide to Viber for Mac. In this way, you will know how to install, uninstall, and use the said instant messaging app. You will notice that it is a very flexible application in terms of communication. Check out our guide to Viber for Mac below.
Article GuidePart 1. Can I Use Viber on My Mac?Part 2. How Do I Download Viber on My Mac?Part 3. Uninstalling Viber For MacPart 4. Conclusion
Part 1. Can I Use Viber on My Mac?
Viber for Mac is a messaging application that is made for the Mac desktop platform. Aside from that, it is also available in Android, iOS, and Windows operating systems. You can take advantage of the platform through its features including the following:
Sending Messages
You can use it to send text messages, files, videos, and photos to another individual. You can even use it to record quick voice messages and short video messages. You can send these to other individuals as well.
Connect With Others Through Video And Voice Calls
You can talk to other individuals through voice calls that are crystal clear and of high-quality. In addition, you can easily switch to video calls to be able to see the individual(s) on the other side of the line. This makes communication more fluid and clear.

Create Group Calls And Chats
Viber For Mac is a great way to make group hangouts even better. It even allows you to create a host of family meets or even yoga classes. Communication among different people is possible through group chat, group video calls, and even group voice calls.
Be Part Of Communities
Viber For Mac allows you to become part of different public groups that were created around particular interests or for particular causes. You can connect with different people from ordinary individuals, to brands, and even influencers.
Share Your GIFs And Stickers
You can communicate in a genuine manner through different GIFs and stickers. You can be very expressive and playful with your message through endless options of different stickers, GIFS, smileys, and more.
Create Your Own GIFs And Stickers
Another way to express yourself is the ability to create your own personalized stickers and even GIFs. You can use these personalized creative juices within you to communicate with your friends and your loved ones.
Edit Or Delete Messages
You can edit the messages you have typed by mistake. This is a good way to say what you actually meant, instead of saying the wrong thing. You can even delete entirely wrong messages that were not meant to be sent to the individual or group.
Set Up Disappearing Messages
Finally, you can create a timer for messages. In this way, they will self-destruct or instantly be deleted after a particular amount of time. This is a good way to protect your privacy or to just make a blast if you want to.
Part 2. How Do I Download Viber on My Mac?
So, how do you download Viber for Mac? Fortunately, the app works even if you got an older version of the Mac OS X. It also works if you got the newer versions of the macOS. With these platforms, you can grab, download, and use Viber for Mac.
In order to download and then install Viber for Mac, it is necessary for you to have the main account that’s active. This should be on your smartphone or tablet. It can be either on an iOS or an Android phone. To set it up, it is necessary for you to have this account (on your smartphone or tablet) on hand, near you during the entire process. Below are the steps to install Viber for Mac:
- Visit Viber’s official website. The first step is to visit the official website of Viber to get the installation file for Viber for Mac.
- Download installation file. The next step would be to click “Download For Mac” in order to grab the installation file from the official website.
- Launch the installation file. The third step would be to open the PKG file for you to start the installation process.
- Drag Viber towards the Applications folder. Then, you would have to drag the icon of Viber towards your Applications folder. This will allow you to put the app in your roster of apps for the Mac computer.
- Go to Applications. Then, you need to go to Applications by using Finder. In this way, you can find the Viber app on your computer.
- Launch Viber. In order to complete the process of installing Viber for Mac, you should launch the Viber app on your Mac computer.
- Follow Instructions. The final step would be to follow the instructions on the screen in order to complete the process of installing Viber for Mac.

After that, Viber will send an SMS with an activation code in it. This will help you confirm the culminating sections of the process of setting up Viber for Mac. When you get the text message, you should input the code. After that, your Mac will be able to use Viber. You will now have the ability to enjoy the features of this popular messaging app on your Mac.
Part 3. Uninstalling Viber For Mac
What if you want to uninstall Viber for Mac? We’ve got you covered. There are two ways to do this. One way is through the manual method of moving Viber for Mac towards the Trash. After that, you should empty the Trash. Then, you should restart your Mac computer. However, there’s a more automatic way of doing it.
This automatic method of uninstalling Viber for Mac is through the use of iMyMac PowerMyMac and its Uninstaller module. It is a great way to uninstall apps on Mac without leaving leftovers. They remove all associated files with the app. Thus, you are sure of a complete cleanup without leaving leftovers behind.
The great thing about PowerMyMac is that it has other modules as well. These modules can help to find all unnecessary files (e.g., temp files, cache files, system logs) within your Mac computer. Then, it can erase it all in one click.
Here are the steps to follow to use iMyMac PowerMyMac and its Uninstaller module to uninstall Viber for Mac:
Step 01. Download, Install and Launch The Tool
The first step is to download the tool on its official website. Grab the installation file through the download process. After that, open the PKG file on your Mac computer. Then, follow the prompts on the screen to install the software on your computer. Finally, open the software on your Mac computer to enjoy its features.
Step 02. Click The Uninstaller Module
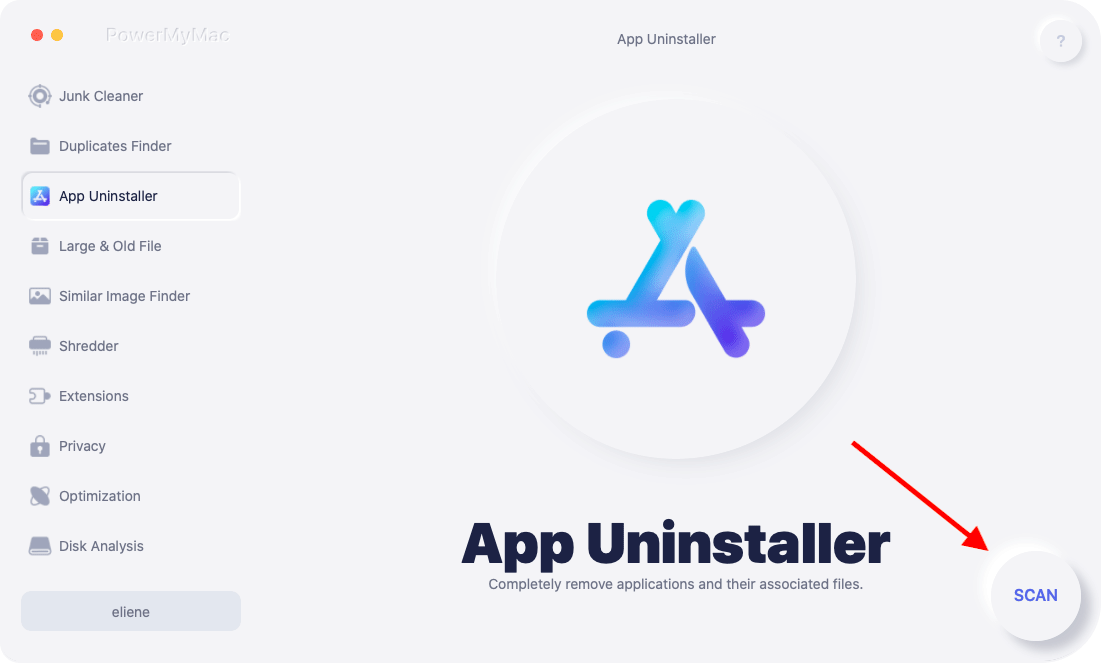
After that, click the Uninstaller module. This can be found on the left side of the interface of the PowerMyMac tool. This will take you to the feature where you can uninstall apps on your Mac computer without leaving leftovers.
Step 03. Scan And Preview
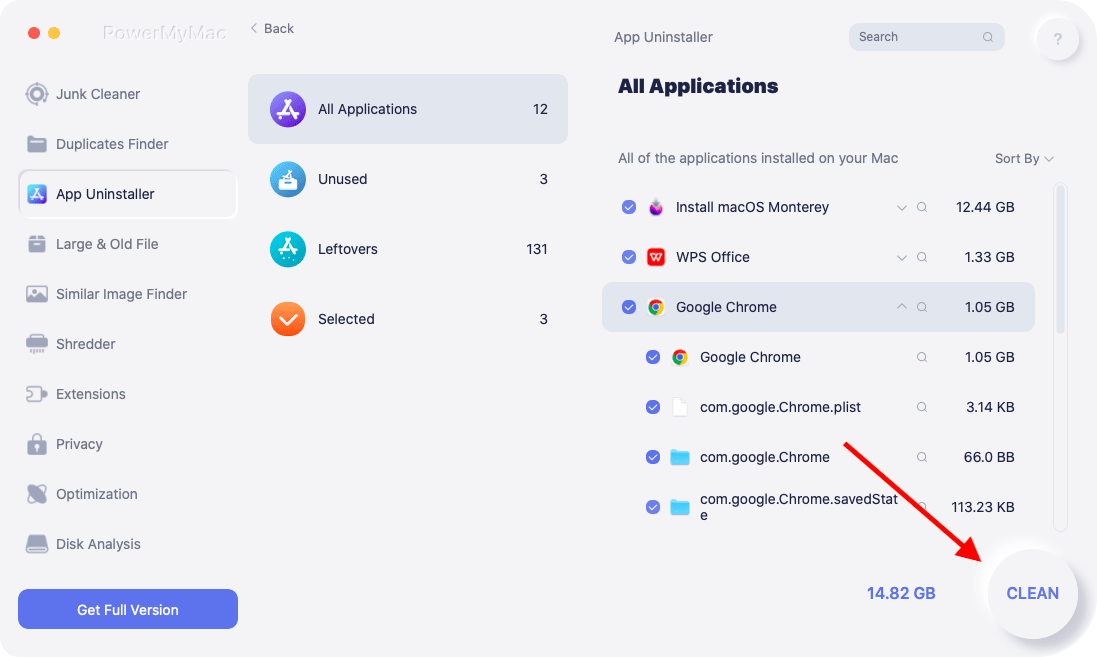
The next step would be to scan your Mac computer for all the apps that you can remove including Viber for Mac. Wait for the scanning process to be complete which will only take a couple of seconds or minutes. After that, preview all the apps you can remove. Then, find the option that says Viber For Mac.

Step 04. Clean
The next step would be to choose Viber for Mac as the application you want to uninstall. You should start the cleanup process by pressing the Clean button. After that, wait for the process to complete. You will notice that everything, including the associated files of Viber for Mac, will be deleted. Thus, you have a complete cleanup of the app on your Mac computer.

Part 4. Conclusion
Here, we have discussed Viber for Mac. We talked about the introduction of Viber for Mac and its features. Then, we moved on to talking about how to grab the app on your Mac computer. Finally, we ended with manual and automatic ways to uninstall Viber.
The best way to uninstall it is through iMyMac PowerMyMac and its Uninstaller module. It’s a great way to make sure your computer is free of the app including its associated files. It won’t leave leftover files like that of manually removing apps from your Mac computer. Grab the tool now to optimize your Mac easily!


