


Being aware of how to take screenshots on whatever device you’re using would be very beneficial especially if you need them to create your presentation materials, tutorial guides, or any other content. If you are a Mac laptop user, and you have been facing the “screenshot on Mac not working” issue, the tips that we have shared in this article will surely help you out. Solutions to address this concern as well as the possible reasons for its occurrence will be highlighted here.
Contents: Part 1. Why Is My Mac Screenshot Not Working?Part 2. How to Fix Screenshot on Mac Not Working?Part 3. How to Take Screenshots on Mac?Part 4. In Conclusion
Part 1. Why Is My Mac Screenshot Not Working?
Before we move into enumerating and explaining the solutions to address the “screenshot on Mac not working” issue, it is also important that we’re knowledgeable of the possible reasons why it’s happening. This is what this section is for. Some of the common causes of the mentioned dilemma are listed below.
- There could be issues with your current keyboard settings.
- The problem might be your Mac laptop itself.
- There could be malware on your Mac without you knowing it.
- Your Mac might now have been updated to the latest OS available.
Part 2. How to Fix Screenshot on Mac Not Working?
Now that we already have a brief idea of the common reasons behind the “screenshot on Mac not working” problem, we’ll now move and tackle the workarounds one can apply to get this issue solved.
Method #1. Review Your Keyboard Settings
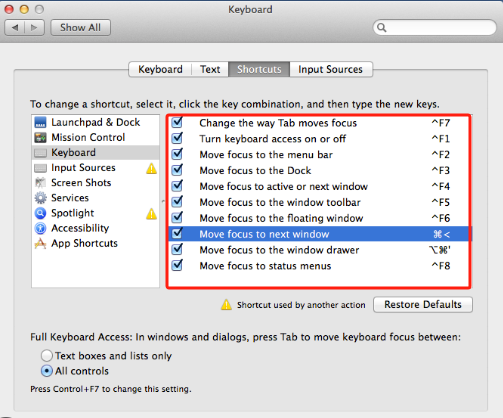
If you have been taking screenshots on your Mac via keyboard shortcuts, looking into your keyboard settings might be worth doing. The error on your keyboard settings could result in you not taking screenshots and saving them as you need. Here’s what you need to do.
- Via the “Dock Apple” menu, look for the “Open System Preferences” option and press it.
- Tap “Keyboard” before clicking “Shortcuts”.
- You will see a list of options.
- Make sure to select all of them and then save them.
- Try and see if you can now take screenshots as you normally do.
Method #2. Try Restarting Your Mac PC
Sometimes, issues like “screenshot on Mac not working” and others could happen because there are problems on your Mac PC. A bug or a system error could be the culprit. One of the most basic workarounds is to have your device restarted.
- On your screen’s top-left corner, press the Apple icon.
- Click “Restart” next.
Method #3. Check and Review if System Updates are Available
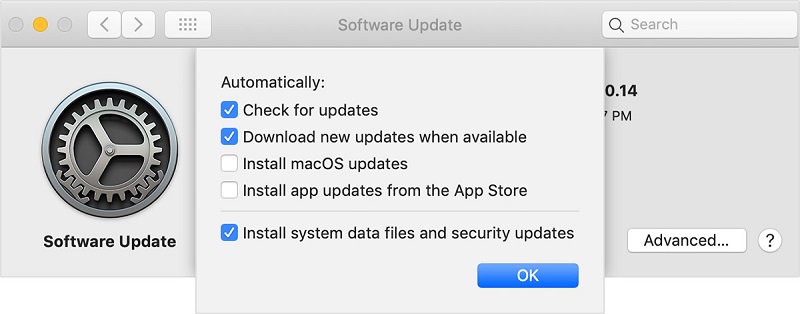
It is also good to double-check if there are new updates that are ready to be installed on your Mac. Not having an updated OS could also lead to problems like the “screenshot on Mac not working” issue. To check for system updates, just simply follow the below.
- Navigate to “System Preferences”.
- Press the “Software Update” menu.
- Your Mac system should automatically review if updates are available.
- Once results are shown, press the “Update Now” button.
Method #4. Reset NVRAM
If you aren’t aware, your Mac has NVRAM. It’s a computer memory that’s responsible for storing information relating to your system settings – screen resolution, volume, time zone, etc. Resetting this could probably fix the “screenshot on Mac not working” dilemma. It’s a simple task so you don’t need to worry about it so much. Start by turning off your Mac and starting it again. Once the startup sound is heard, hold the “Command”, “Option”, “P”, and “R” keys together for 20 seconds. Hopefully, this will finally fix the problem. Otherwise, proceed to read the next recommended solution.
Method #5. Launch in Safe Mode
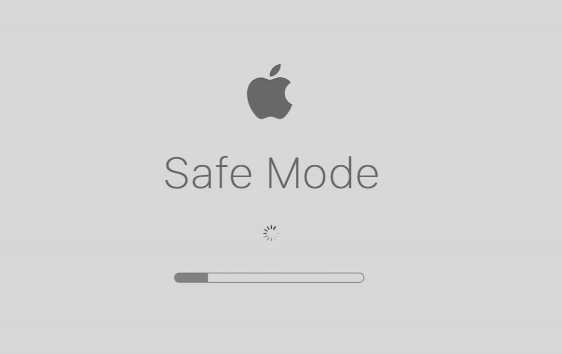
Applications on your system or malware are also possible causes of why you keep on failing to take screenshots using your Mac. If you wish to test it out, try launching your Mac in safe mode and see if taking screenshots can be done. Turn off your Mac and wait for about 20 seconds before restarting it. While restating, press the “Shift” key and continue holding it until the login window shows up. The “Safe Boot” at the top of the screen can be seen.
Method #6. Check for Any Malware
As previously mentioned, malware could cause the “screenshot on Mac not working” problem. Checking if yours has it could be the key to fixing the issue. If found positive, to remove it, you can try uninstalling some programs, cleaning your Mac’s system, and having it optimized.
Part 3. How to Take Screenshots on Mac?
Hopefully, the tips that were shared in the second part will be helpful enough when it comes to solving the screenshot issue that you’re facing on your Mac computer. Now in this part, we’ll just highlight the detailed methods and tutorial of how you can easily take screenshots on Mac.
Via Keyboard Shortcuts
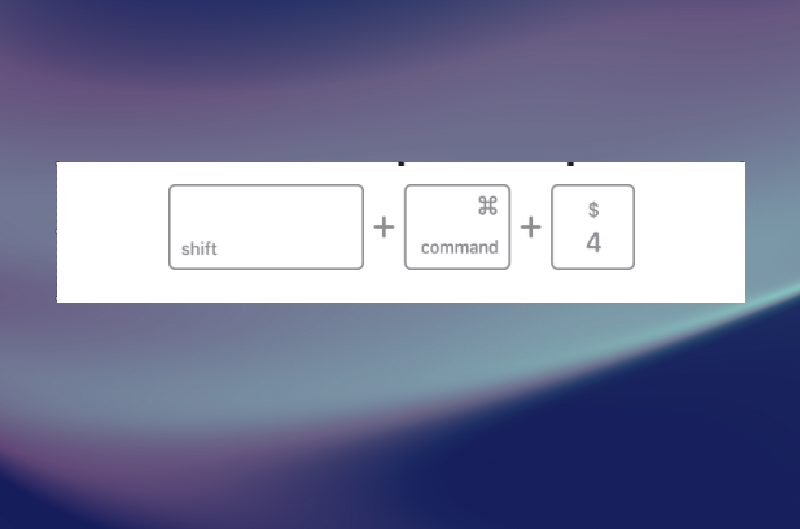
- If you want to screenshot a section or a specific area of your screen, press Command + Shift + 4 on your keyboard.
- If you need to get a full-screen screenshot, then you have to click Command + Shift + 3.
- In case you wish to screenshot a window or a menu, press Command + Shift + Space + 4.
- To copy and paste a section of your screen to your clipboard, hold Command + Control + Shift + 4.
Make sure to remember the above keyboard shortcuts and use them as per your needs.
Via the iMyMac Screen Recorder
Addressing the “screenshot on Mac not working” concern won’t be enough without giving you good recommendations of how you can take screenshots on your Mac with ease. Apart from utilizing keyboard shortcuts, you may also opt to use professional software apps like the iMyMac Screen Recorder.
Though designed mainly for screen recording functions, the abovementioned tool allows users to take screenshots and do other things as it’s loaded with lots of great menus and features.
Get A Free Trial Now! Normal Mac M-Series Mac Get A Free Trial Now!
Part 4. In Conclusion
When you suddenly face the “screenshot on Mac not working” issue, don’t be worried. Though you aren’t aware of its cause, there are multiple workarounds that you can check and apply to get this resolved. Additionally, you may also use professional tools as alternatives for you to still take screenshots whenever you need to do so.
