


People have been lucky enough ever since smart TVs were introduced due to the various benefits they offer. If you have been an avid watcher of such TV programs but also have a tight schedule which sometimes makes you miss the airing time, it would be helpful to learn how to record TV programs on smart TVs.
In this way, you can keep copies of the shows and then watch them later when you finally have the time to do so! But how can this be made possible? It’s simple! Some of the most used and most effective ones will be shared in this article.
Contents: Part 1. How to Record TV Programs on Smart TV with DVR?Part 2. How to Record TV Programs on Smart TV without DVR?Part 3. What Is the Best Way to Record TV Programs?Part 4. How to Watch Recorded Shows on Samsung Smart TV?FAQs
Part 1. How to Record TV Programs on Smart TV with DVR?
One of the methods of how to record TV programs on smart TVs is by using a Cloud DVR. You can just connect your DVR box to your TV and then record the shows you like whenever you want. An HDMI or any connecting device would be required during the process. Here’s a quick guide as well.
- Ensure that your smart TV has been connected to the internet. Look for the preferred TV show that you wish to record.
- Press the title of the show and then click the “Record” menu beside it. It will then show the connected DVR box and the recording will commence. Recorded files will be saved in the cloud storage.

Part 2. How to Record TV Programs on Smart TV without DVR?
What if you don’t have the DVR box with you? How to record TV programs on smart TVs then? There are several options for you to choose from in this section.
#1. Via a USB Stick
If your smart TV comes with the PVR function, and you’re not to record content from sites like Amazon Fire TV Stick, resorting to using a USB stick will work for you when recording TV programs on your smart TV.
- Connect your USB HDD to your smart TV. Check if you can access the PVR function.
- Review the TV settings (ensure that HDD has been set up).
- Via the built-in PVR feature, you may now begin recording.
#2. By Windows Media Center
Another option of how to record TV programs on smart TVs without using a DVR is by utilizing the Windows Media Center. Here are the steps to follow if you’d like to try this method.
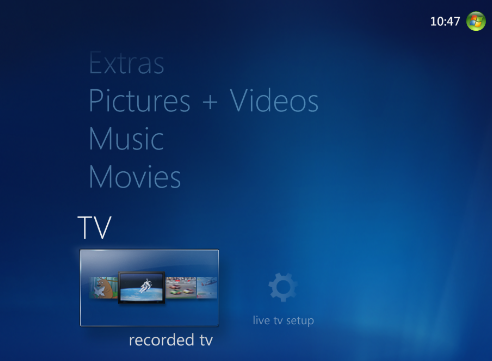
- Look for the Windows Media Center on your computer. Select “TV” from the main interface.
- Press “Guide” next. TV menus will be shown.
- After selecting the specific TV show, tap “Enter”. Afterward, press “Record”. Once you’re finished, you can click the “Do Not Record” menu. To proceed with saving, select “Record Series”.
#3. Via MediaPortal
The third on the list of tools to consider in the process of how to record TV programs on smart TVs is the MediaPortal. You can follow this guide if you wish to give it a shot.
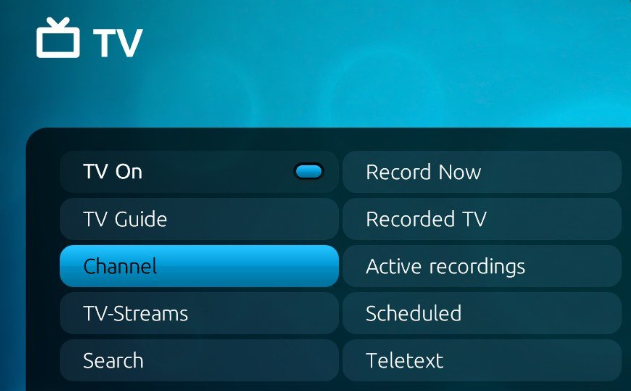
- Download the app on your PC. Select TV from the main interface.
- To begin capturing, press the “Record” menu. Recording will work while you’re streaming the show.
Added tip: To save time, you can look for the “schedule recording” feature.
Part 3. What Is the Best Way to Record TV Programs?
Though the options of how to record TV programs on smart TVs that were previously provided are good enough, some users might be looking for other alternatives. In all cases, it is always best to rely on professional software applications. When screen recording TV programs or even when capturing your screen activities, we always recommend the use of apps like the iMyMac Screen Recorder.
The abovementioned is proven effective when screen recording and even gives the user the flexibility to decide on the recording area to capture, the sound type, and whether the camera and audio will be recorded. Of course, it has an easy interface and is compatible with both Mac and Windows OS.
Get A Free Trial Now! Normal Mac M-Series Mac Get A Free Trial Now!
To record TV programs with iMyMac, here’s an easy reference.
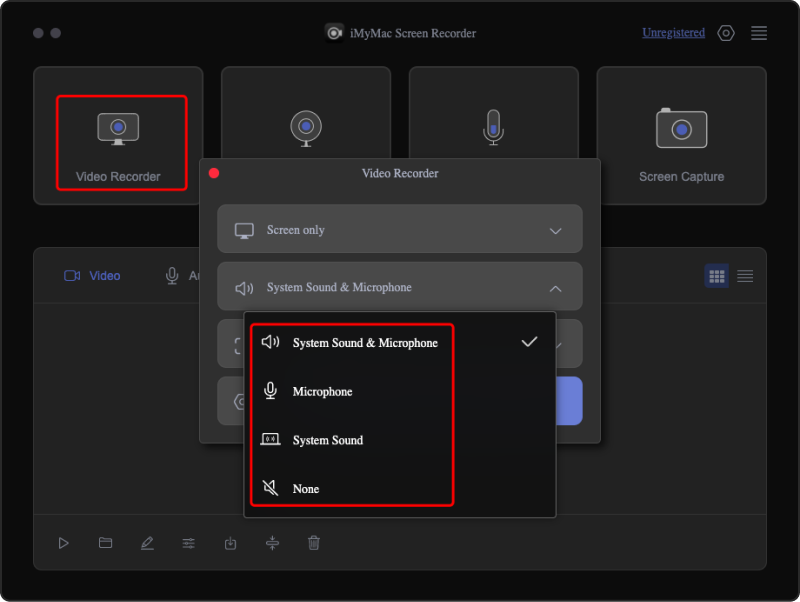
- Install the app on your PC and from the main interface, locate and select “Video Recorder”.
- Decide on whether to record only the screen or capture the camera and audio as well.
- Set up the audio settings as per your liking.
- Press the “Start Recording” menu to begin upon ensuring that the selected TV program has already been opened and ready. Once the recording process is done, just hit the red “stop” button.
You will then have a copy of the recorded TV show which you can access anytime you want to!
Part 4. How to Watch Recorded Shows on Samsung Smart TV?
Upon sharing how to record TV programs on smart TVs, you might be curious about how you can view and even delete recorded programs on Samsung Smart TVs. Well, of course, we have the details here!
Viewing Recorded Programs
- Press the button with the “123” logo on your Samsung TV remote.
- Move to the control pad via the directional buttons.
- Access the “Recording & Schedule Manager” screen. You may choose the desired program to view and just press the “Play” option.
Deleting Recorded Programs
- Head to the list of “Recordings”.
- Select the specific file to delete via the directional buttons.
- Click the right-directional menu to head to the list of 3 options.
- Use the down directional button to go to the “Delete” option. Press “Select” next.
- Use the left-directional button to go to the “Delete” button. Press “Select” to finally delete the program title.
FAQs
- Do smart TVs have built-in DVRs?
There isn’t a specific answer to this query as there are smart TVs with built-in DVRs and others that don’t have them.
- How can I record TV shows to watch later?
You can either use any of the free tools that were shared in the previous sections of this article or rely on a professional software app to capture your screen.
- Where is the record button on the Samsung Smart TV remote?
You can press the “123” button on your Samsung Smart TV remote to view the “Record” menu.
