


Learning about the simplest and easiest ways of how to take screenshots on Windows 11 and even screen record would be so beneficial in many cases – when making tutorials, guides, presentations, etc. However, there were reported instances when some users, after updating from Windows 10 to 11, encountered concerns and challenges with various functions of the upgraded Windows version including the ability to take screenshots and record their screen activities.
Fortunately, this is something too easy to fix and address. Let’s move into the first part to find out more about this article’s main topic.
Contents: Part 1. How to Take Screenshots on Windows 11 with Shortcut Key?Part 2. How to Take Screenshots on Windows 11 without Print Screen Button?Part 3. What Is The Best Way to Take a Screenshot on Windows 11?Part 4. Conclusion
Part 1. How to Take Screenshots on Windows 11 with Shortcut Key?
In this part, right away, we will be sharing several methods of how to take screenshots on Windows 11 via shortcut keys.
Take Screenshots Via the Screenshot Shortcut Key
Capturing your Windows 11 whole screen is too easy with the help of the “PrntScrn” button on your keyboard. On your desktop, this should be at the top area of your keyboard. In case you’re a laptop user, this could be a secondary function of a button. Once this key is pressed, your full screen will be captured and copied to the clipboard. You can paste it to a “Paint” app that you have on your computer so you can save it as either a PNG or JPEG file.
Take Screenshots Via the Auto-Save Feature
Another method of how to take screenshots on Windows 11 with ease is by taking advantage of your computer’s auto-save feature. While using the “PrntScrn” menu is beneficial, automatic image saving won’t be possible through it. Thus, saving the screenshots taken would require one to do some extra steps as previously mentioned. If you want to automatically save all the screenshots made, you just have to press the “Win” and “PrntScrn” buttons at the same time. Images should be saved to the “Screenshots” folder that’s under “Pictures”.
Take Screenshots and Capture Only a Part of the Screen
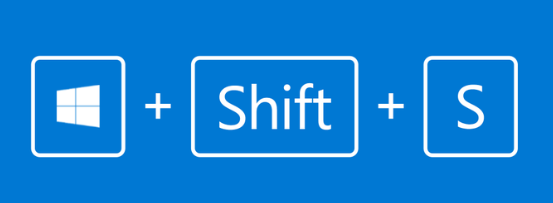
What if you’re looking at capturing only a part of your Windows 11 screen? How can it be done then? That’s simple! You just have to hold 3 keys – “Win”, “Shift”, and “S”. The Windows 11 Snipping Tool feature should show up shortly.
How to Take Screenshots with Windows 11 Snipping Tool
Here’s a guide on how to take screenshots on Windows 11 with the Snipping Tool for your easy reference.
- You can easily launch the “Snipping Tool” feature on your Windows 11 PC by pressing the abovementioned keys – “Win” + “Shift” + “S”.
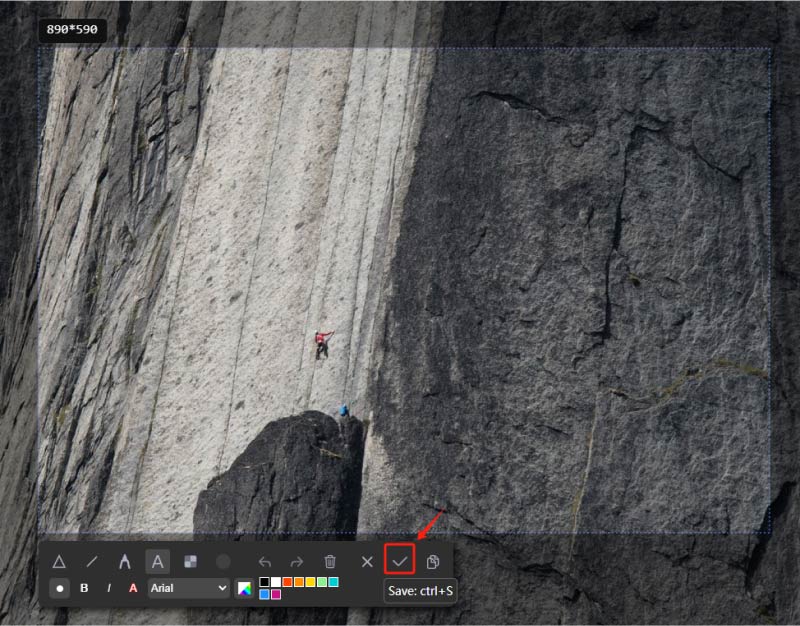
- You may then choose the type of screenshot to make – draw the perimeter or select a window to screenshot.
- Edit the image as you like before saving it to your computer.
Part 2. How to Take Screenshots on Windows 11 without Print Screen Button?
Are there other options for how to take screenshots on Windows 11 apart from using the “Print Screen” menu? Well, of course! Some will be highlighted in this part of the article.
Using Game Bar
When gaming on Xbox and you want to take a screenshot of your play, you can take advantage of the Game Bar’s built-in screenshot function. Just simply follow these steps.
- Launch the Game Bar by pressing the “Win” and “G” keys.
- Head to the “Capture” window.
- Press the “Camera” icon to take a snapshot.
You should be able to see the screenshot taken under the “Captures” subfolder in the “Videos” folder.
Using OneDrive
When you’re away, accessing your screenshots through OneDrive would be helpful. For your reference, here’s how to take screenshots on Windows 11 and automatically save them to your OneDrive.
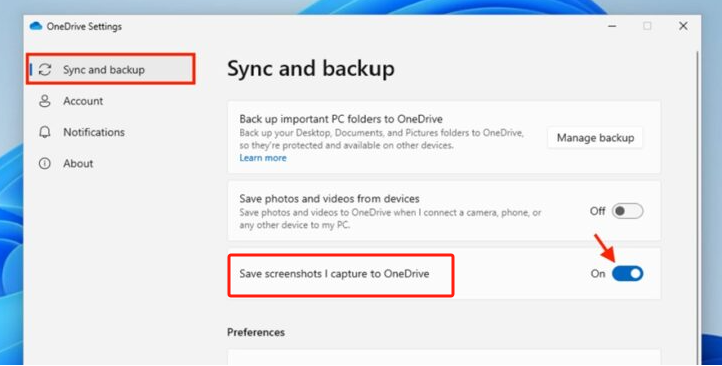
- Look for the OneDrive icon on your taskbar. Right-click on it, go to “Settings”, and then launch the “Backup” tab.
- Look for the “Automatically Save Screenshots I Capture to OneDrive” menu and ensure that the check box next to it has been marked.
Using Snip & Sketch
The Snip & Sketch feature can also be utilized to take screenshots on your Windows 11 PC.
- Launch “Snip & Sketch” on your computer.
- Press the “New” menu.
- Decide on the type of screenshot that you’d like to take.
- Once the screenshot has been taken, you should see a notification at the bottom of the screen.
- Just simply do some edits if you want to before saving or sharing the image.
Part 3. What Is The Best Way to Take a Screenshot on Windows 11?
Upon reading what the previous sections of this article have, I bet you have already learned various ways on how to take screenshots on Windows 11. But just in case you’re still looking for another alternative, the best would be to use a professional tool like the iMyMac Screen Recorder. It is a screen recorder that, at the same time, can also take screenshots and offers bunches of great perks and functions to its users.
Get A Free Trial Now! Intel Mac M-Series Mac Get A Free Trial Now!
Take a look at how you can use the abovementioned software program.
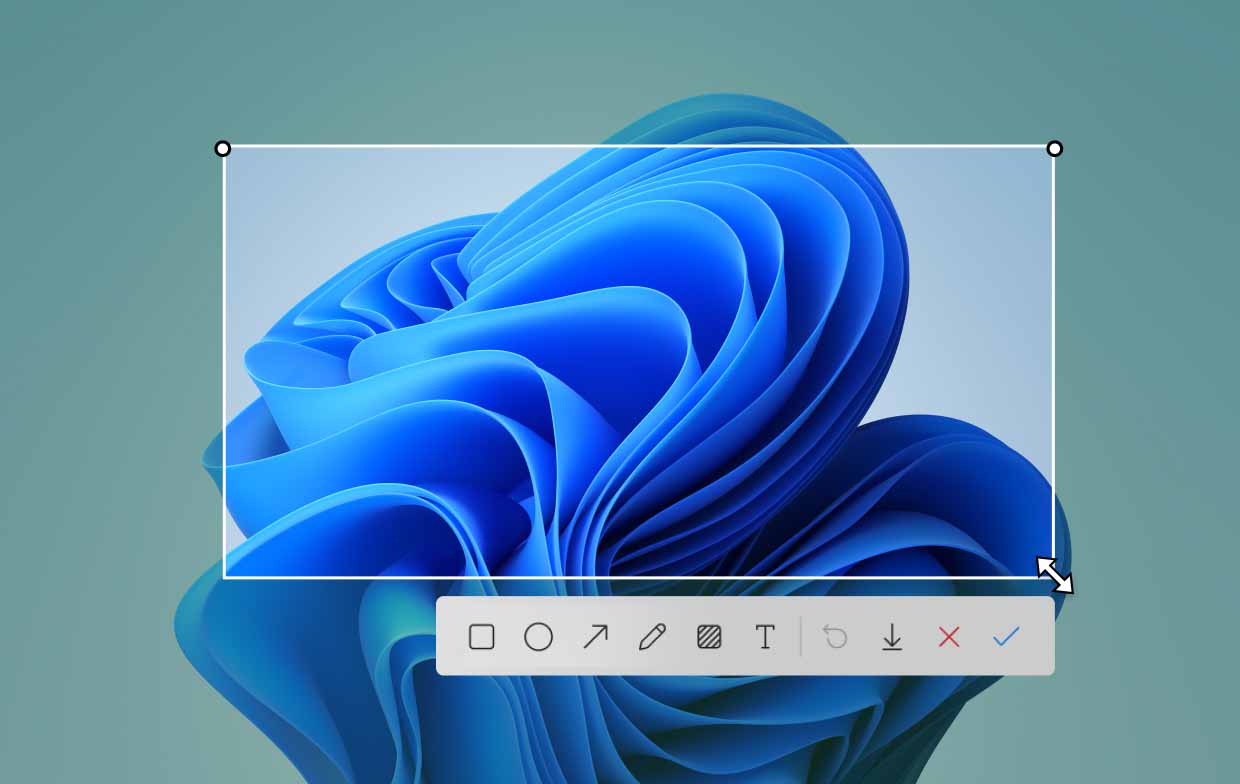
- Open the iMyMac Screen Recorder once installed and go to the “Screen Capture” menu.
- Decide on the area to capture by clicking the "Custom Size".
- While your cursor is ongoing, you are free to take screenshots as you like.
- Finish off by pressing the “check mark” button.
Part 4. Conclusion
Hopefully, you have learned a lot from this article when it comes to the process of how to take screenshots on Windows 11. We are lucky enough that we have various options to accomplish this process. In addition to the free tools that we have, it is considered an advantage that professional software programs like the iMyMac Screen Recorder can help take high-quality screenshots apart from offering the screen recording function.
